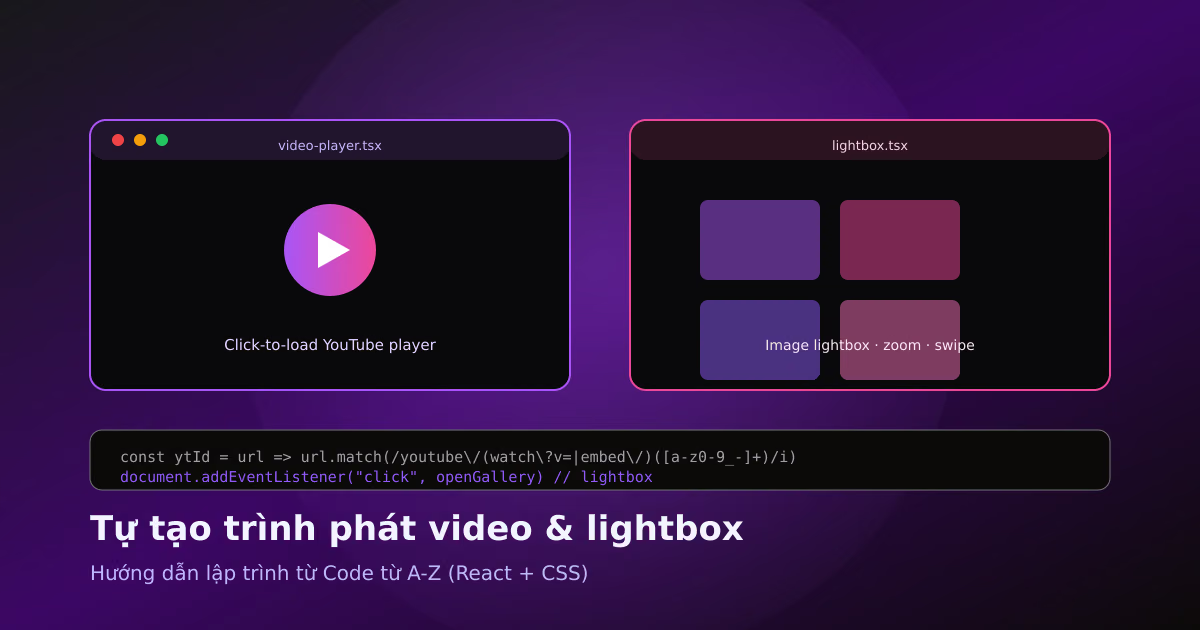
Bài viết này hướng dẫn cách tự viết code để tạo ra một trình phát video và một trình xem ảnh lightbox mượt mà, tối ưu — như cách mình đã làm trên blog này. Đây là hướng dẫn lập trình (React + CSS), không phải cách sử dụng.
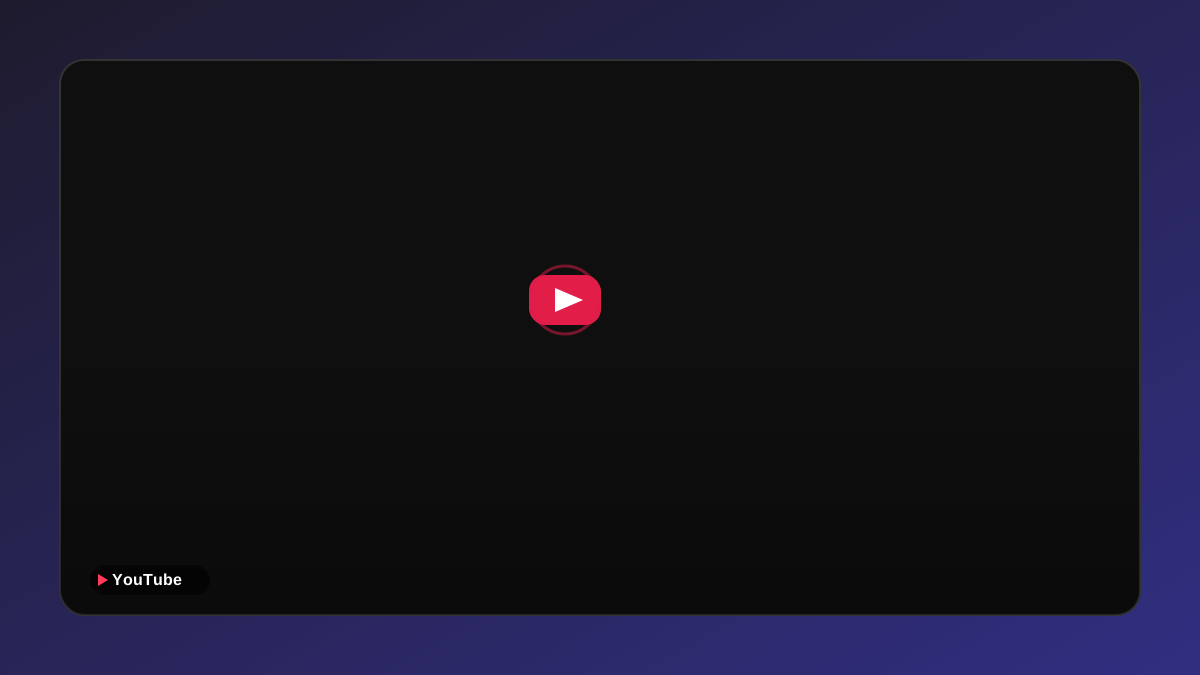
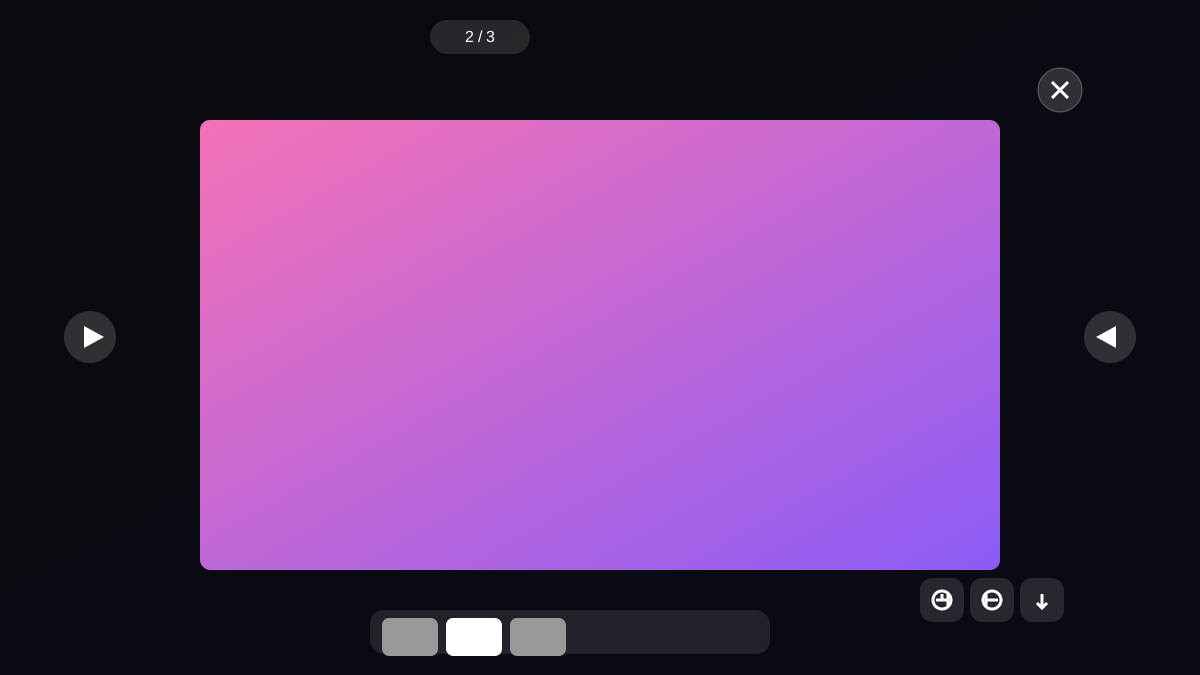
Kết quả cuối cùng bạn sẽ tạo ra được:
1. Ý tưởng chính 💡
Hai tính năng "xịn" nhất đều dựa trên một nguyên tắc: trì hoãn tải tài nguyên nặng cho đến khi người dùng thực sự cần.
- Video YouTube: đừng nhúng iframe ngay khi trang load (nặng, chậm). Thay vào đó hiện thumbnail + nút play, chỉ chèn iframe khi bấm.
- Ảnh: đừng để ảnh tĩnh trong bài. Khi bấm, mở fullscreen overlay với animation.
Cả hai dùng event delegation ở cấp document vì nội dung bài viết được render qua dangerouslySetInnerHTML (không phải React component thuần).
2. Tạo trình phát video YouTube (click-to-load) 🎬
Bước 1 — Server render placeholder (không phải iframe)
Khi render bài viết, thay vì iframe, xuất ra một <div> placeholder có thumbnail + nút play:
// Trong quá trình xử lý nội dung (SSG)
const YT_EMBED = (id: string) =>
  `


   `;
Lấy video ID từ link bằng regex (hỗ trợ watch?v=, youtu.be, shorts, embed):
const ytId = (url: string) =>
  url.match(/(?:youtube\.com\/(?:watch\?(?:.*&)?v=|embed\/|shorts\/|live\/)|youtu\.be\/)([A-Za-z0-9_-]{6,})/)?.[1];
Bước 2 — Hydrator: chèn iframe khi bấm
Tạo một client component gắn listener ở cấp document:
"use client";
import { useEffect } from "react";

export default function StoryVideo() {
  useEffect(() => {
    const handleClick = (e: Event) => {
      const el = (e.target as HTMLElement).closest(".story-yt") as HTMLElement | null;
      if (!el || el.dataset.loaded) return;
      el.dataset.loaded = "1";
      const iframe = document.createElement("iframe");
      iframe.src = `https://www.youtube.com/embed/${el.dataset.yt}?autoplay=1&rel=0`;
      iframe.allowFullscreen = true;
      el.innerHTML = "";
      el.appendChild(iframe);
    };
    document.addEventListener("click", handleClick);
    return () => document.removeEventListener("click", handleClick);
  }, []);
  return null;
}
Bước 3 — Tối ưu hơn: scroll-reveal + loading shimmer
Dùng IntersectionObserver để chỉ hiện player khi cuộn tới (không hiện hết cùng lúc):
const io = new IntersectionObserver((entries) => {
  entries.forEach((e) => {
    if (e.isIntersecting) { e.target.classList.add("story-yt--visible"); io.unobserve(e.target); }
  });
}, { threshold: 0.15 });
document.querySelectorAll(".story-yt").forEach((p) => io.observe(p));
CSS: player mặc định opacity: 0; transform: translateY(28px), khi có class --visible thì chạy animation:
.story-yt { opacity: 0; transform: translateY(28px); }
.story-yt--visible { animation: storyYtIn 0.7s cubic-bezier(0.16,1,0.3,1) forwards; }
@keyframes storyYtIn {
  from { opacity: 0; transform: translateY(28px) scale(0.98); }
  to   { opacity: 1; transform: translateY(0) scale(1); }
}
Hiệu ứng pulse cho nút play và shimmer khi đang nạp:
.story-yt-btn { animation: playPulse 2.4s ease-in-out infinite; }
@keyframes playPulse {
  0%,100% { box-shadow: 0 8px 26px rgba(225,29,72,.5), 0 0 0 0 rgba(225,29,72,.5); }
  50%     { box-shadow: 0 8px 26px rgba(225,29,72,.5), 0 0 0 16px rgba(225,29,72,0); }
}
3. Tạo trình xem ảnh Lightbox 🖼️
Bước 1 — Bắt sự kiện bấm ảnh
Một client component gắn listener ở document, chỉ quan tâm ảnh trong vùng nội dung bài:
useEffect(() => {
  const h = (e: Event) => {
    const img = (e.target as HTMLElement).closest(".article-content img") as HTMLImageElement | null;
    if (!img) return;
    e.preventDefault();
    openGallery(img.src); // thu thập tất cả ảnh, mở modal
  };
  document.addEventListener("click", h);
  return () => document.removeEventListener("click", h);
}, []);
Bước 2 — State và điều hướng
const [open, setOpen] = useState(false);
const [index, setIndex] = useState(0);
const [images, setImages] = useState([]);
const [zoom, setZoom] = useState(1);

const next = () => setIndex((i) => (i + 1) % images.length);
const prev = () => setIndex((i) => (i - 1 + images.length) % images.length);
Hỗ trợ phím tắt: Esc đóng, ←→ chuyển ảnh, +/− zoom:
useEffect(() => {
  if (!open) return;
  const onKey = (e: KeyboardEvent) => {
    if (e.key === "Escape") close();
    else if (e.key === "ArrowLeft") prev();
    else if (e.key === "ArrowRight") next();
    else if (e.key === "+") zoomIn();
    else if (e.key === "-") zoomOut();
  };
  window.addEventListener("keydown", onKey);
  return () => window.removeEventListener("keydown", onKey);
}, [open, prev, next, close]);
Bước 3 — Giao diện + animation
Backdrop đen blur + ảnh zoom-in khi mở:
.story-gallery-backdrop {
  position: fixed; inset: 0;
  background: rgba(8,8,12,.92);
  backdrop-filter: blur(10px);
  animation: galleryFadeIn .3s ease forwards;
}
.story-gallery-img { animation: galleryZoomIn .35s cubic-bezier(.16,1,.3,1) forwards; }
@keyframes galleryZoomIn {
  from { opacity: 0; transform: scale(.85); }
  to   { opacity: 1; transform: scale(1); }
}
Vuốt trên mobile bằng touch events:
onTouchStart={(e) => (touchX.current = e.touches[0].clientX)}
onTouchEnd={(e) => {
  const dx = e.changedTouches[0].clientX - touchX.current!;
  if (Math.abs(dx) > 50) (dx < 0 ? next : prev)();
}}
Bước 4 — Khóa cuộn trang khi mở
useEffect(() => {
  if (!open) return;
  const prev = document.body.style.overflow;
  document.body.style.overflow = "hidden";
  return () => { document.body.style.overflow = prev; };
}, [open]);
4. Tổng kết 📌
- Tối ưu = trì hoãn tải iframe/ảnh nặng đến khi người dùng cần
- Mượt = dùng
cubic-bezier(0.16,1,0.3,1)(ease-out mềm) + animation hợp lý - Bền vững = event delegation ở
document(không phụ thuộc cấu trúc DOM bên trong) - Thân thiện = hỗ trợ phím tắt, vuốt,
prefers-reduced-motion
Chỉ vài chục dòng code là bạn đã có trình phát video và xem ảnh đạt chuẩn "10/10". Chúc bạn code vui! 🚀